Creating Your Account
How to create your account
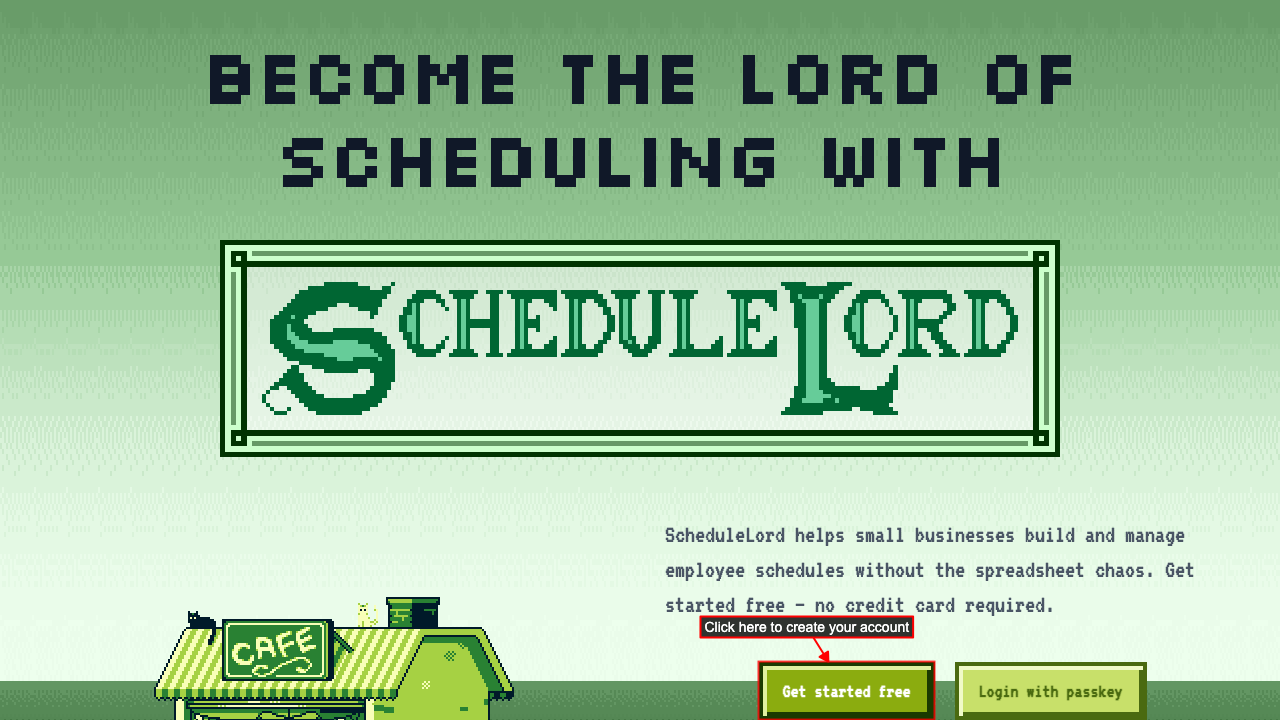
Start on the ScheduleLord home page and click Get started free.
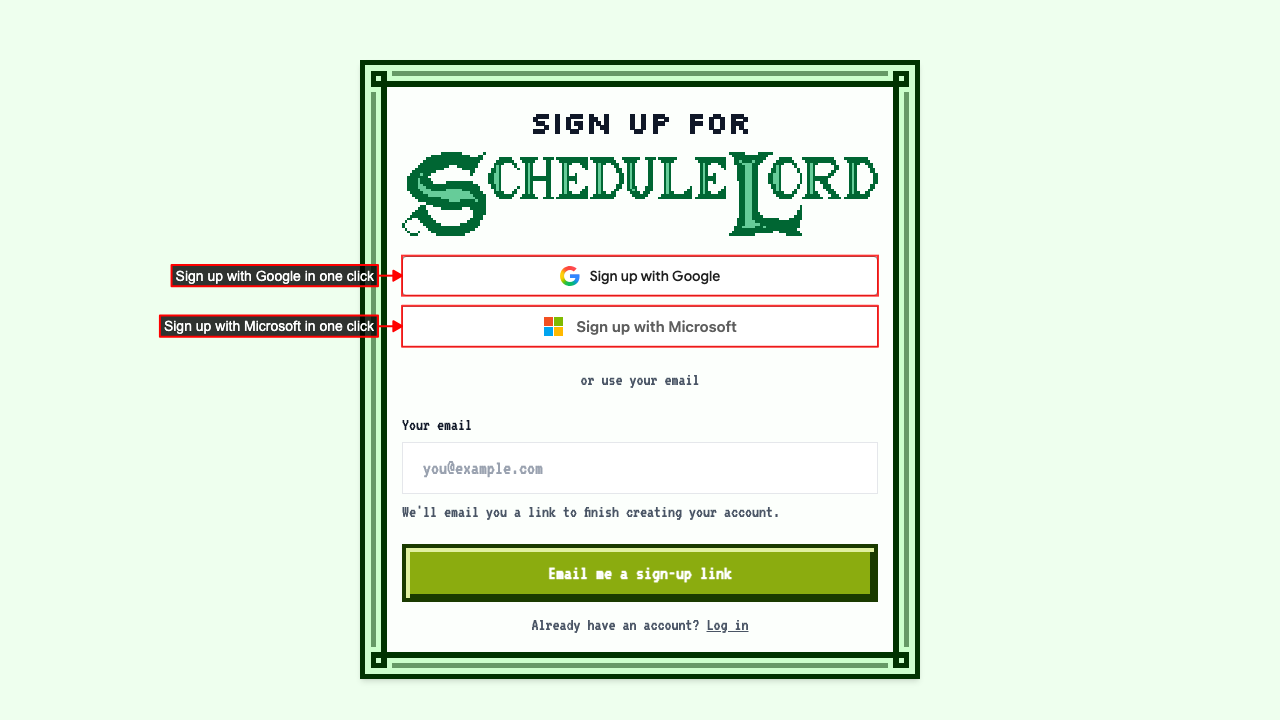
 The quickest way is Sign up with Google or Sign up with Microsoft, which creates your account in one click. To use your email instead, follow the steps below.
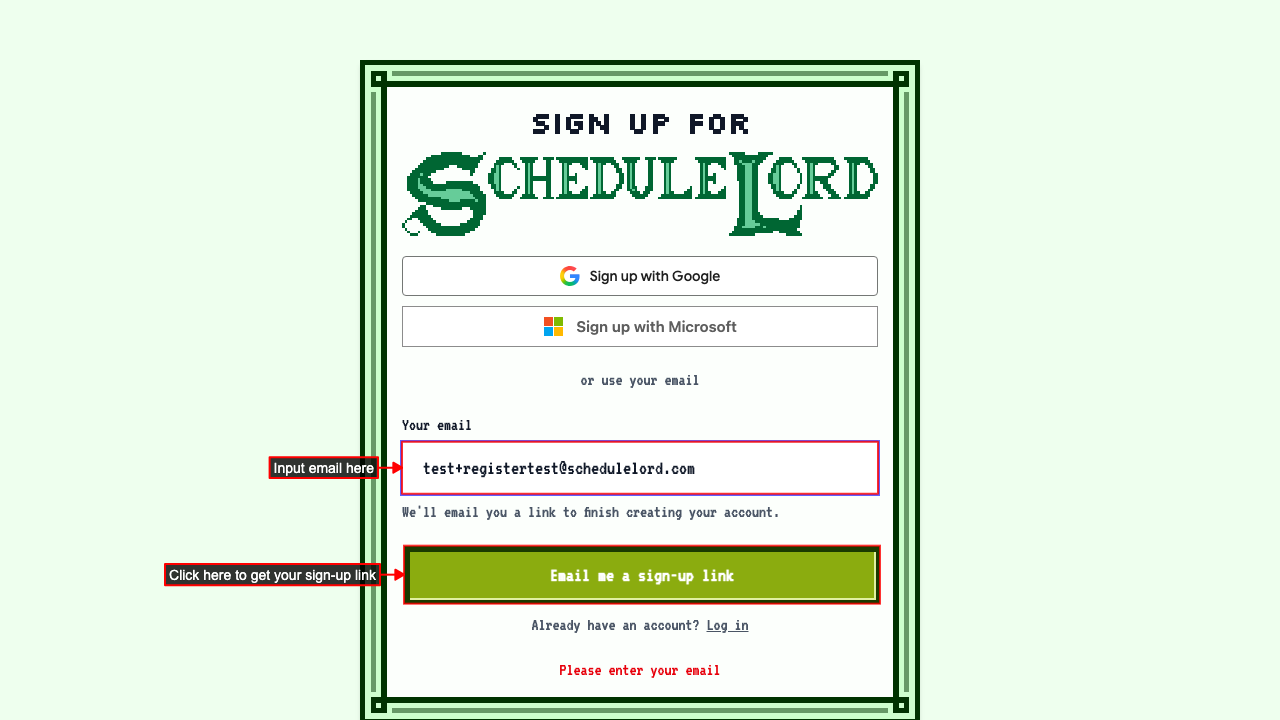
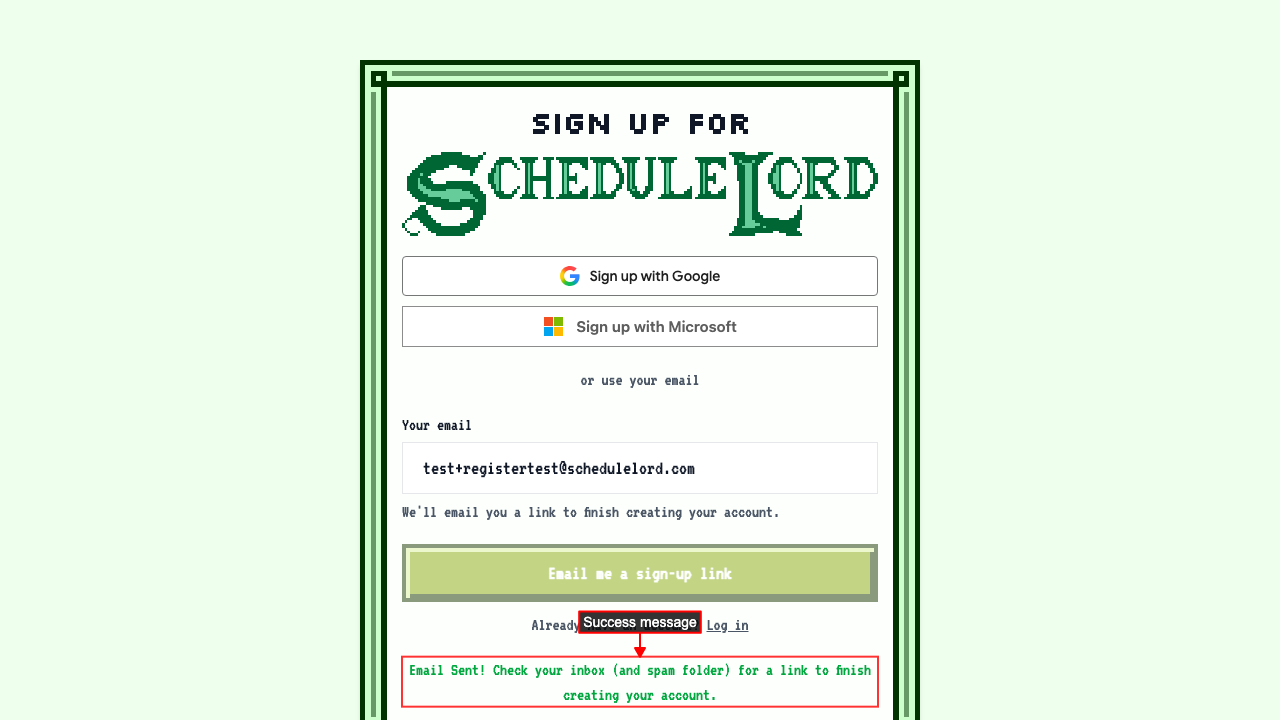
 Enter your email address.
Click Email me a sign-up link.
 A message confirms the email is on its way. If you don't see it, check your spam folder.
 Open the email from ScheduleLord and click Complete Registration.
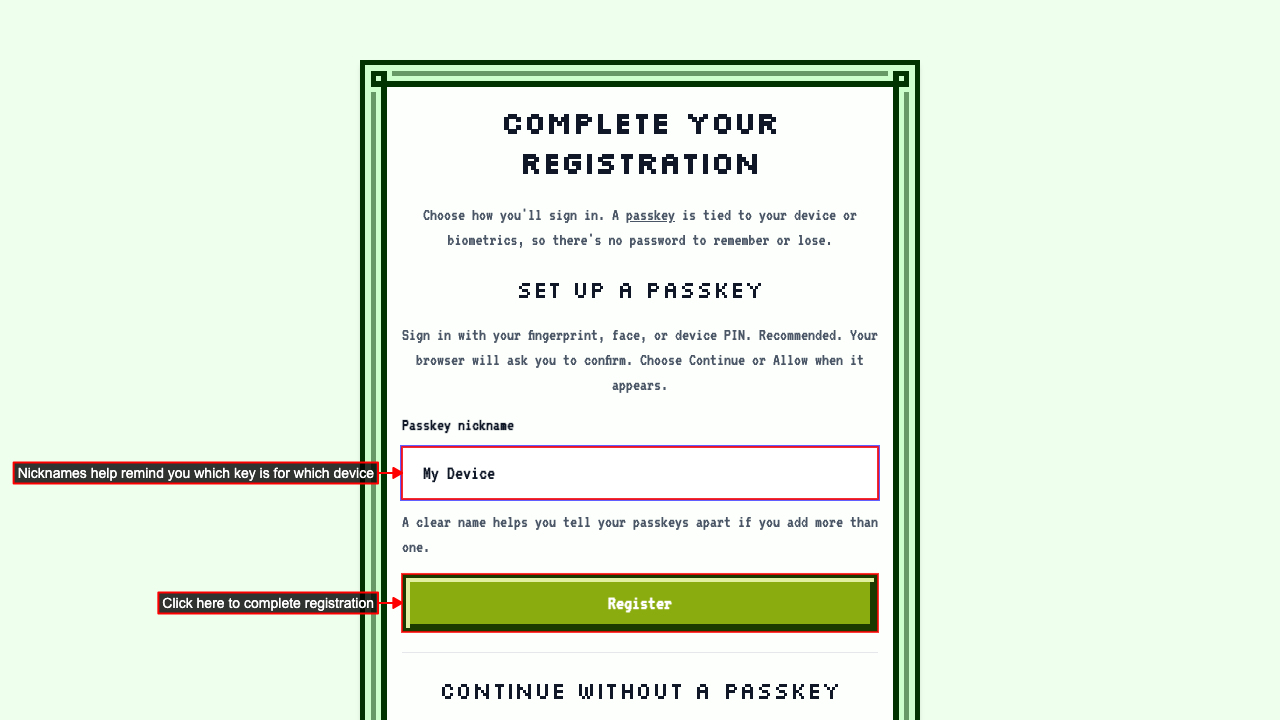
On the Complete Your Registration page, give your passkey a nickname if you like, such as "Work laptop", then click Register. When your browser asks to save a passkey, choose Continue or Allow.
Learn more in Google's guide to passkeys.
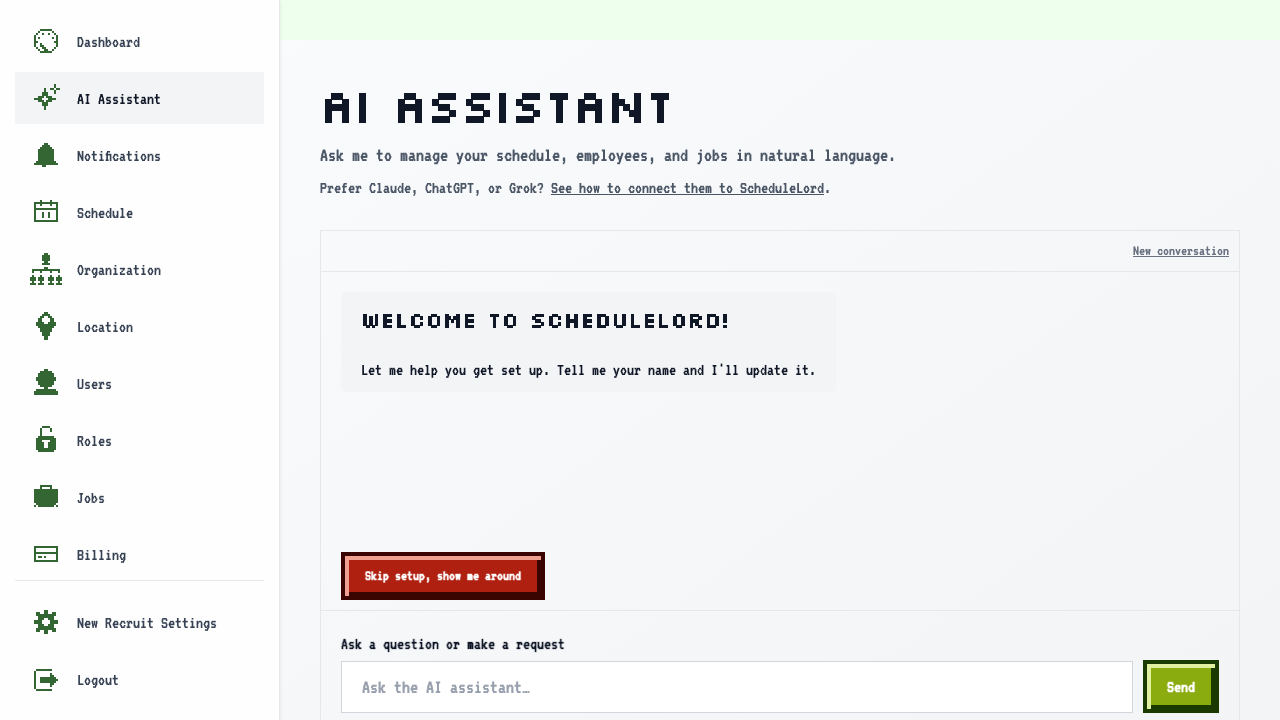
 You're signed in and taken to the AI Assistant page. It asks a few questions, starting with your name, and sets up your account from your answers.
What your new account starts with
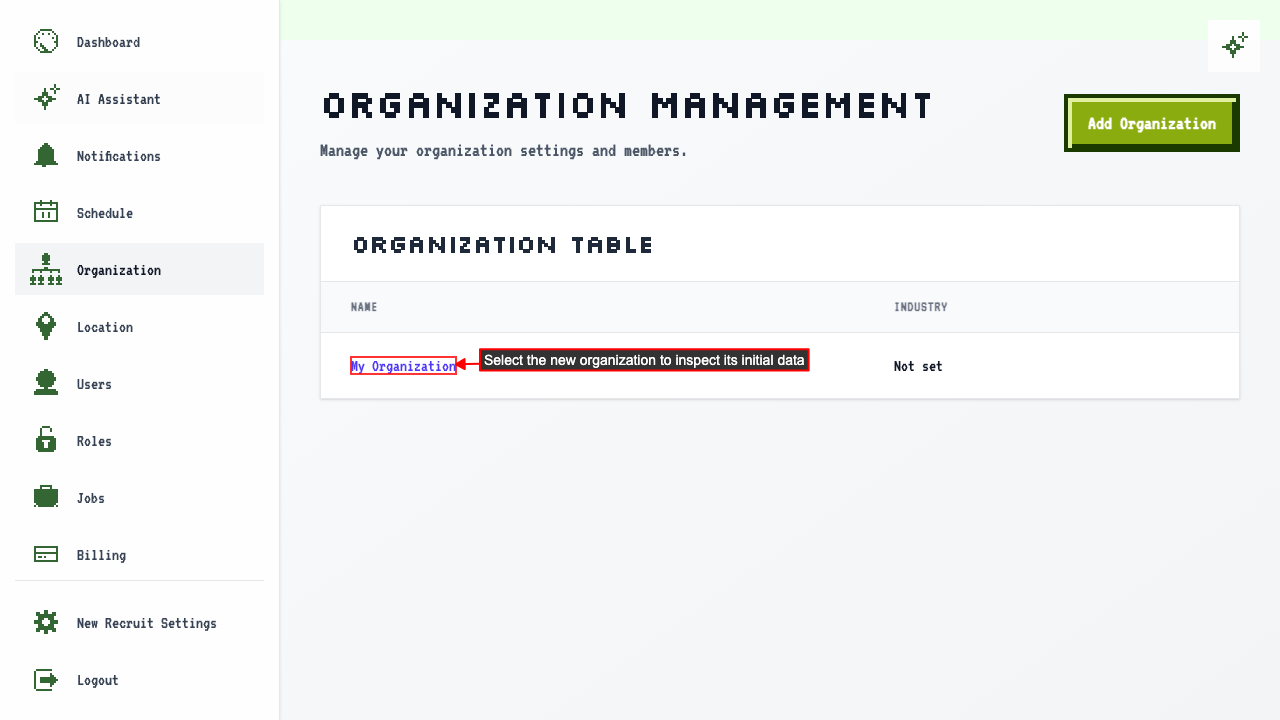
When you sign up on your own, ScheduleLord creates a starter organization for you. Open Organization and select it to see:
- Organization: "My Organization"
- User: "New Recruit"
- Location: "Main Location"
 It also comes with these roles:
- Owner
- Manager
- Employee
You'll also have a few jobs already created that you can assign to employees:
- Bartender
- Busser
- Cook
- Dishwasher
- Host
- Manager
- Server
How to sign up when someone has already added you
If your employer added you to ScheduleLord before you signed up, you'll get an invitation email with a sign-up link. Use that link, or sign up yourself with the same email address. Either way, your new account is linked to the employee they added, so your role, shifts, and other details are already there.
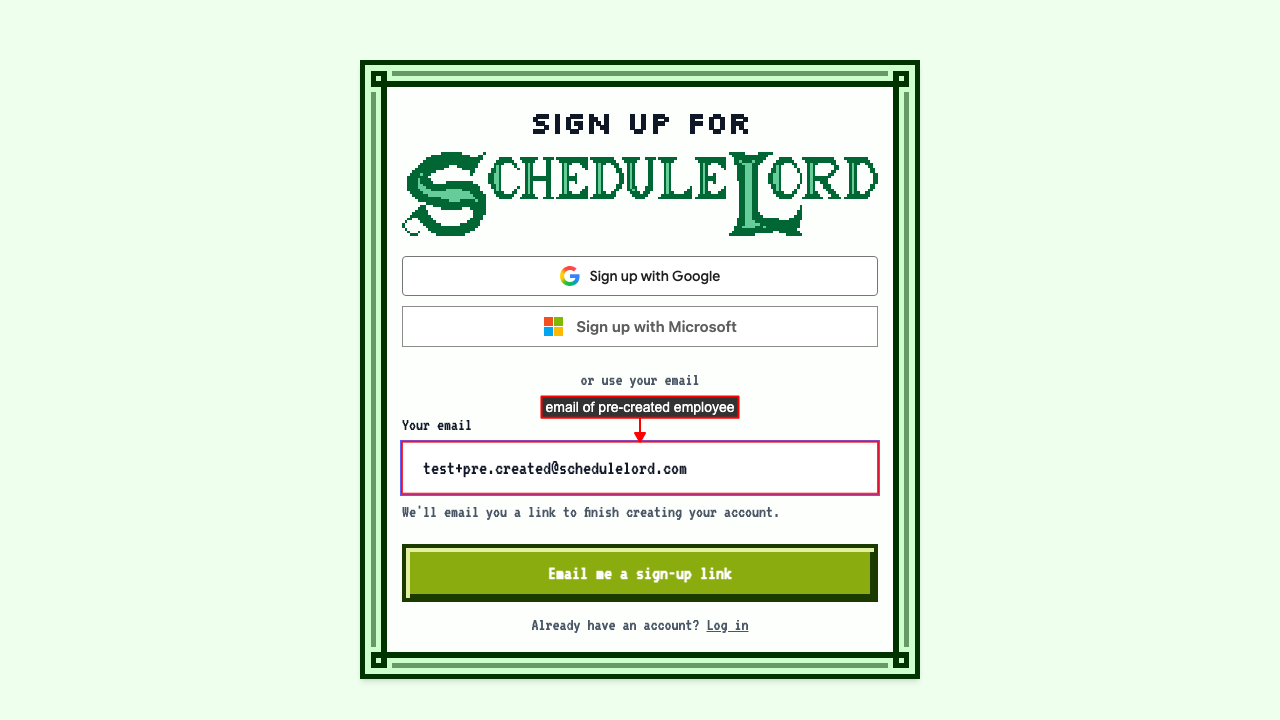 Any shifts already scheduled for you show up on the schedule.
Problems while registering
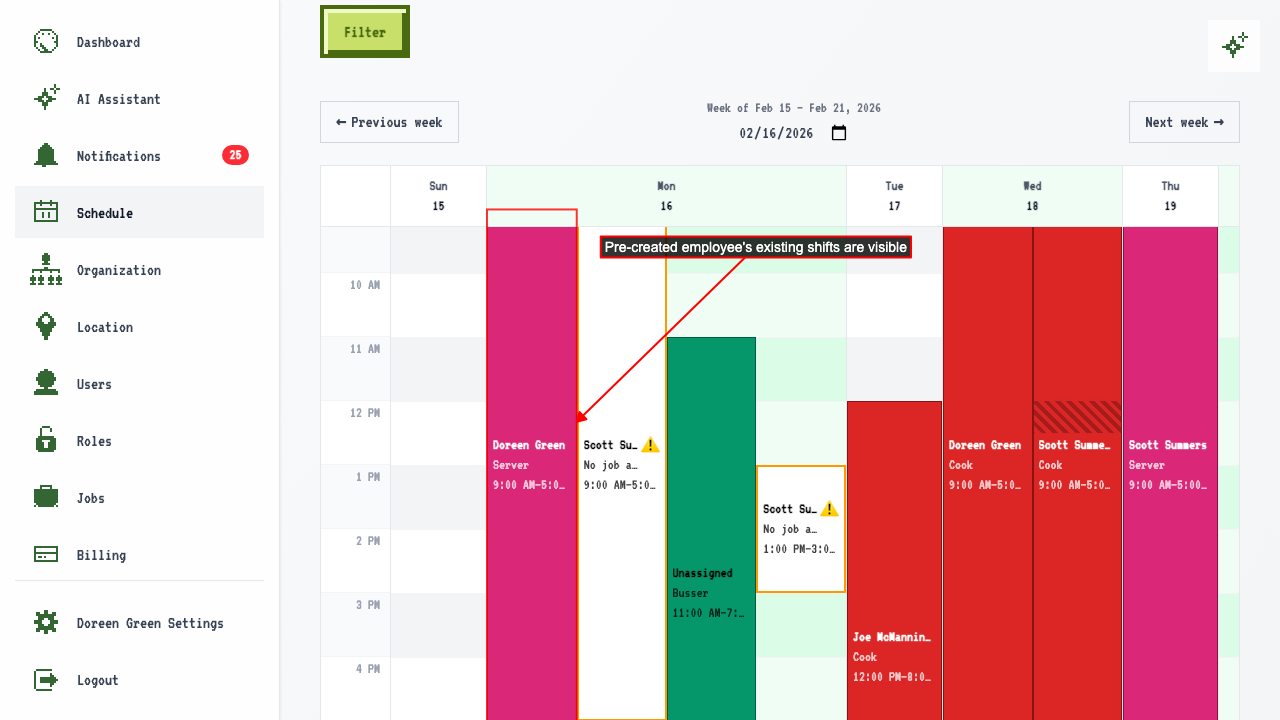
Your registration link has expired
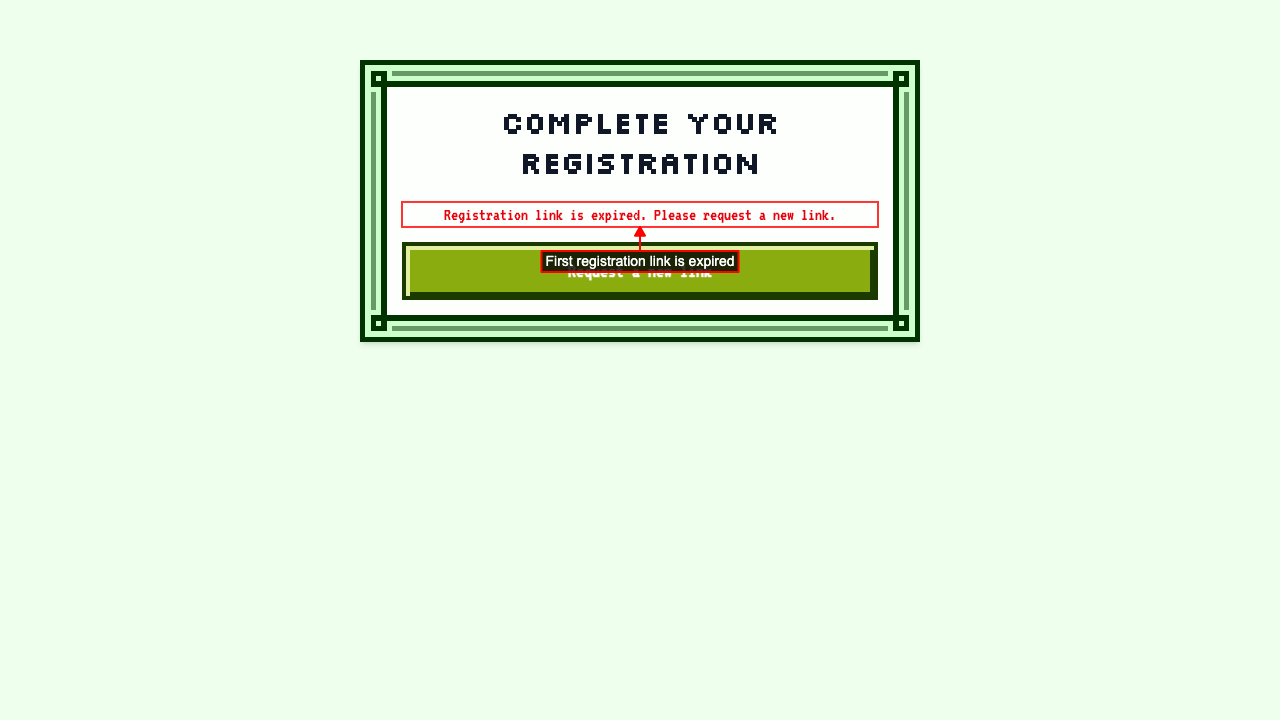
If a sign-up link has expired, the page tells you so.
Click Request a new link to get a new one by email.
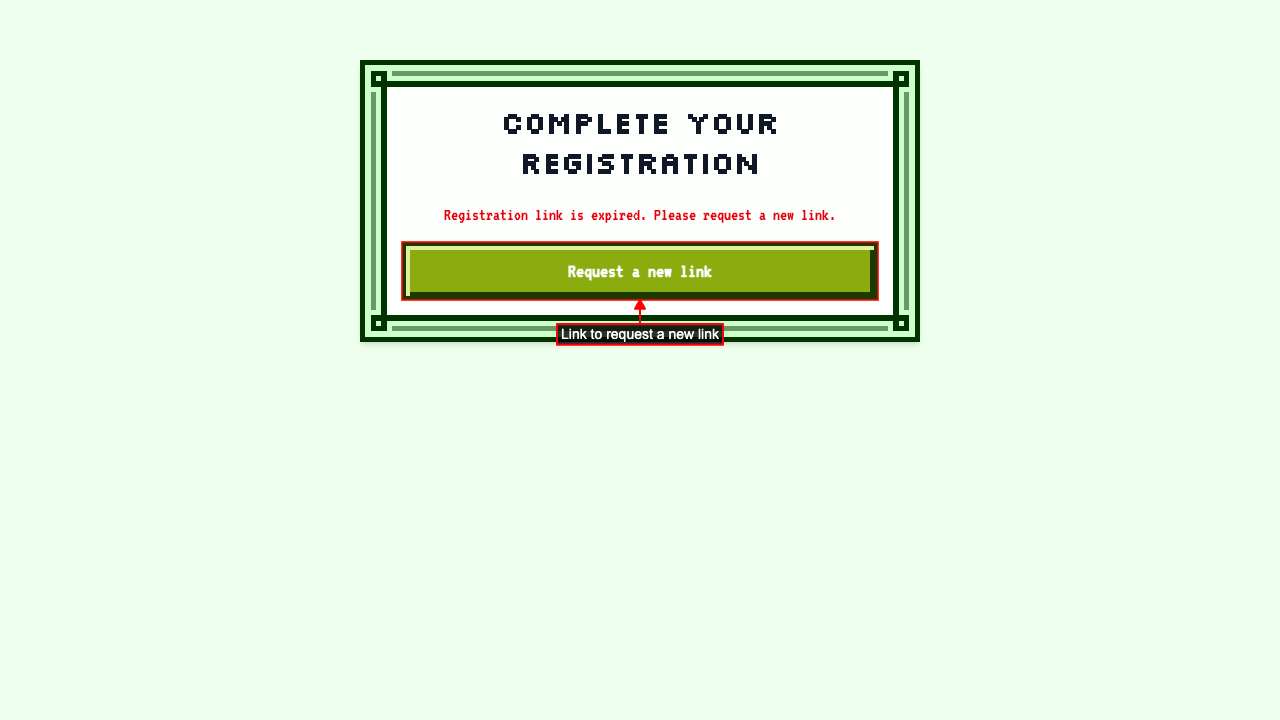
Your device can't set up a passkey
If your device cancels or blocks setting up a passkey, you'll be offered a sign-in link instead.
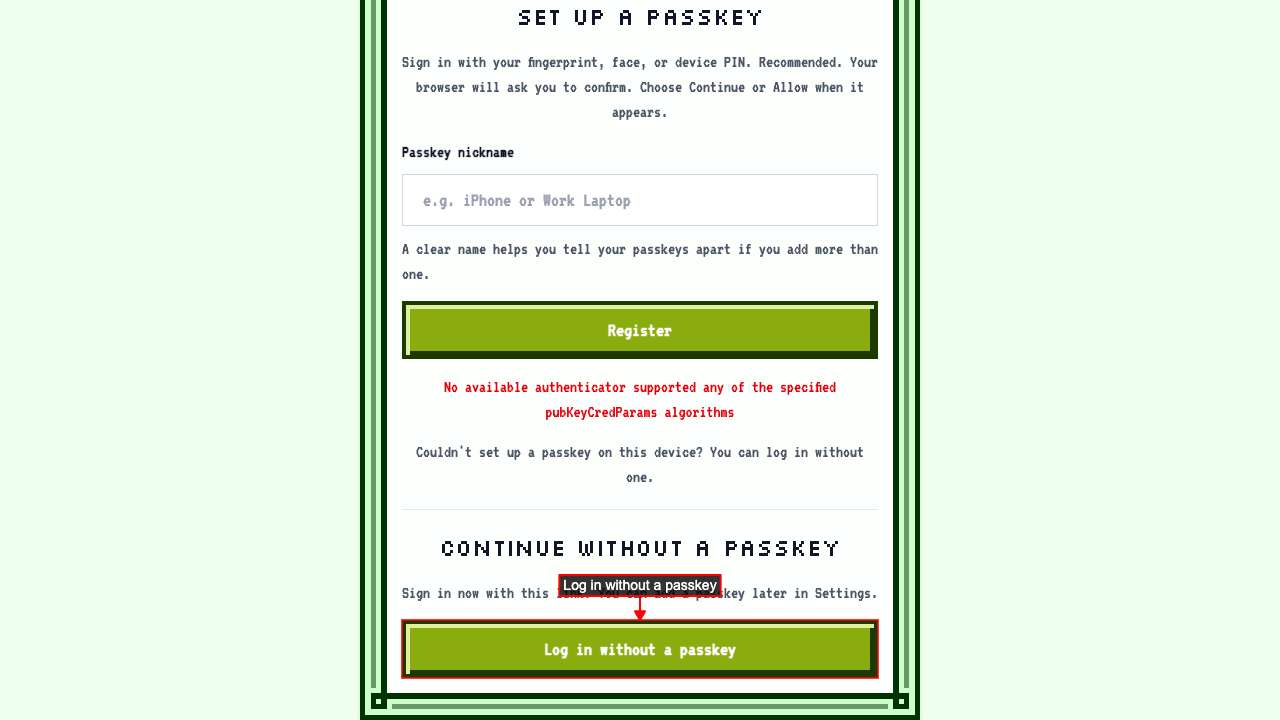 Click it to sign in and go to the AI Assistant page, which helps you finish setting up. You can add a passkey later from your settings.
Only your newest sign-up link works
Go to the sign-up page and enter your email.
Click Email me a sign-up link. You get an email with a link.
Ask for another link. A second email arrives, and the first link stops working.
Opening the first link now says it has expired.
 The newest link still works.
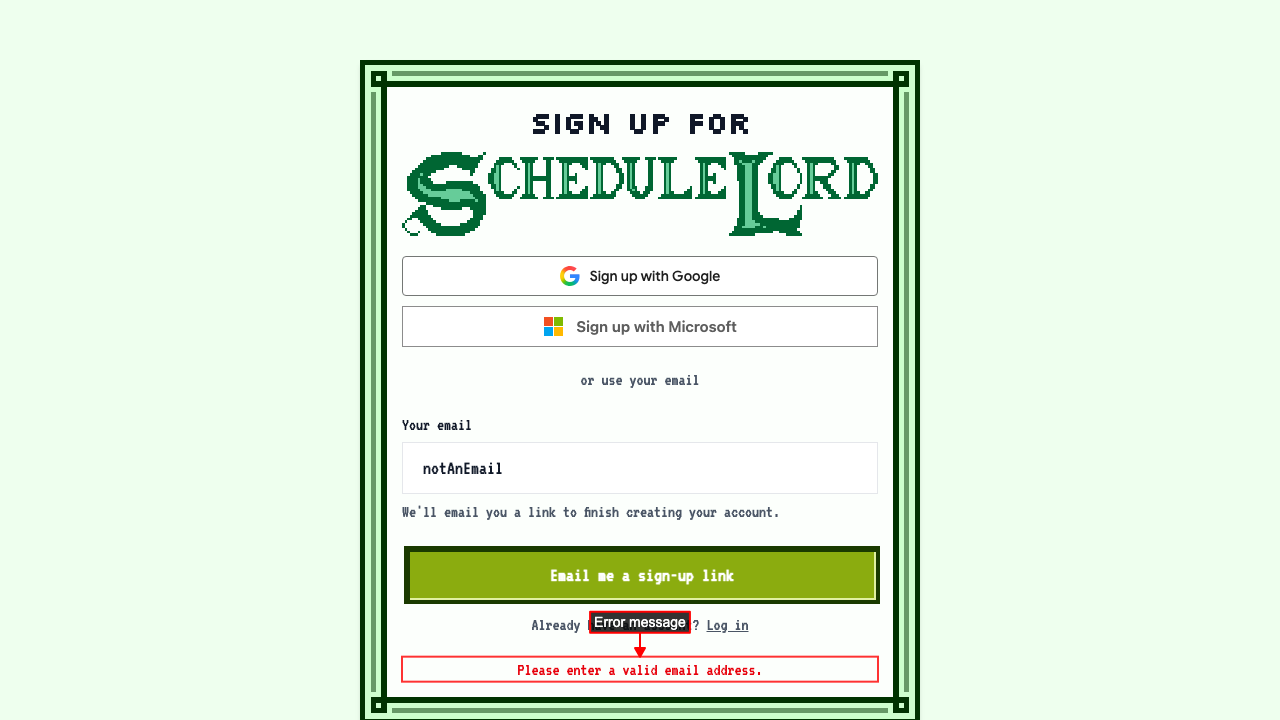
Entering something that isn't an email address
If what you enter isn't an email address, you'll see an error asking for a valid one.
If you're already signed in
Opening an expired registration link
If you open an expired registration link while you're signed in, you're told the link has expired.
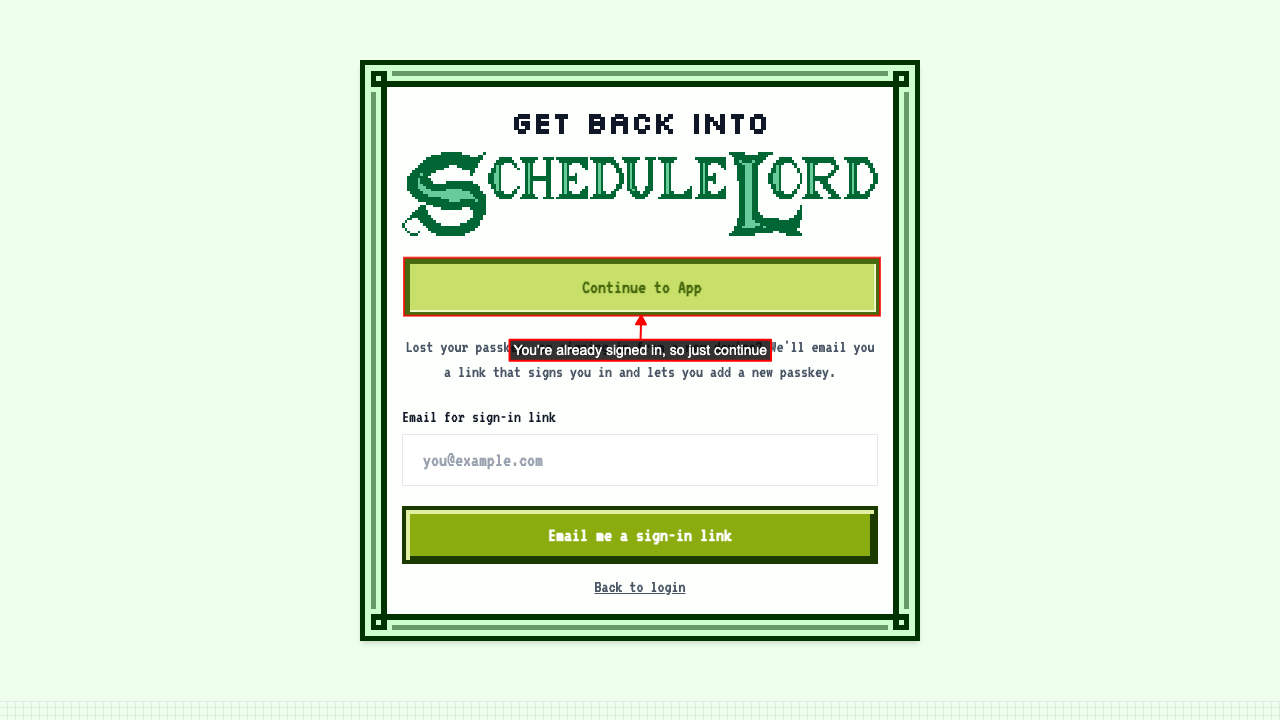
Click Request a new link. Since you're already signed in, the page offers Continue to App instead.