Creating a Location
How to create a new location
Start on the Locations page.
Click 'Add Location' to open the new location form.
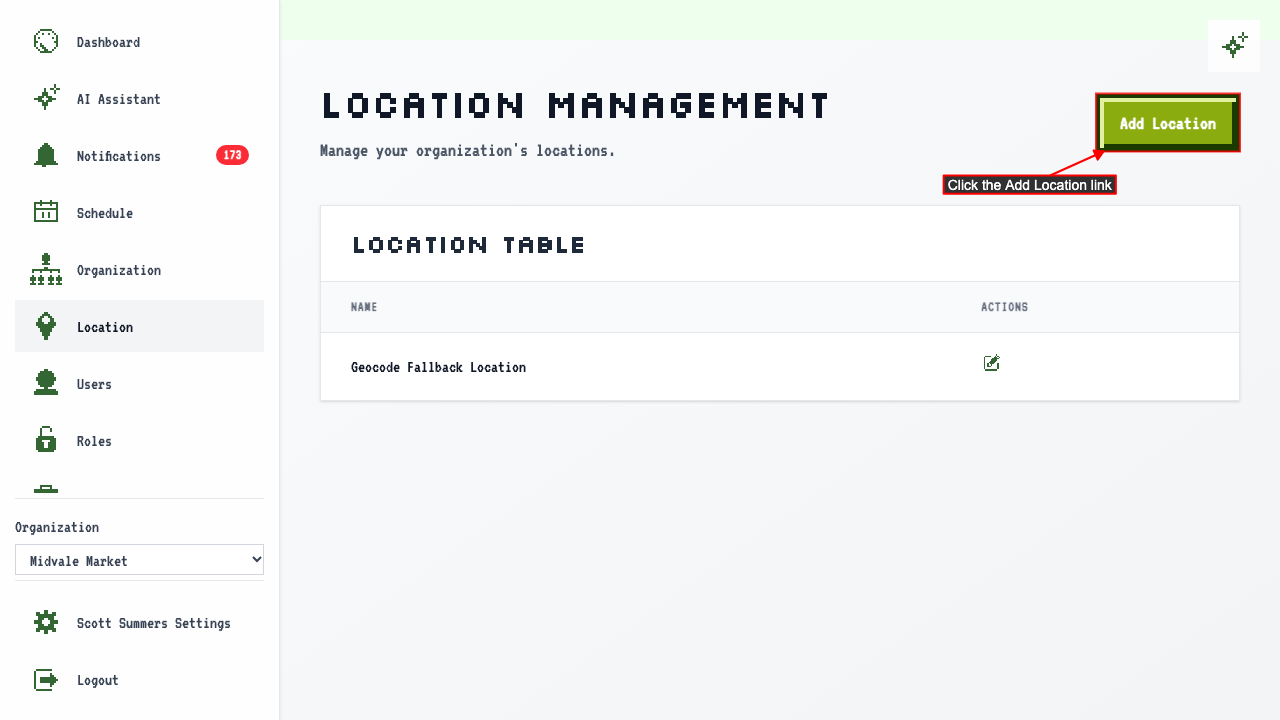 The new location form opens.
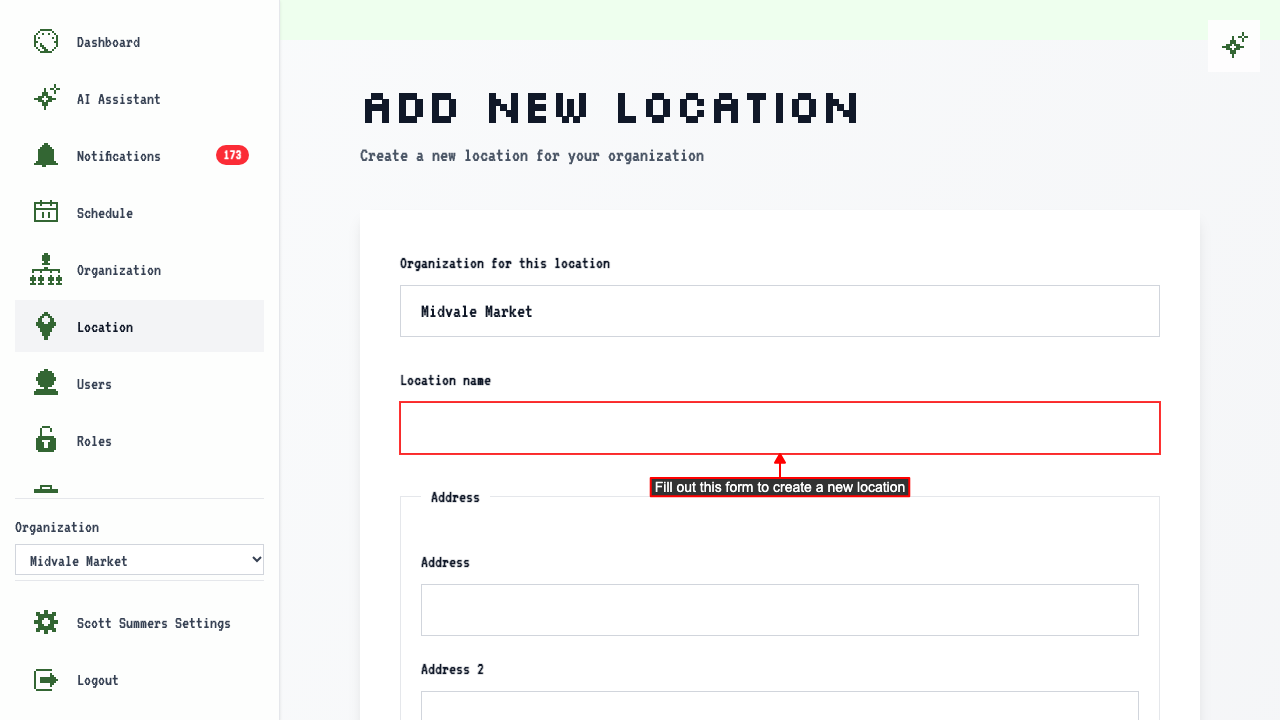 The form has fields for:
- The organization this location belongs to.
- The location's name.
- Optional address fields: Address, Address 2, City, State, and Zip code.
- An optional Timezone field.
- A Look up timezone button that fills in the timezone from the address.
- An optional Phone number field.
- An optional Email field.
- An optional Website field.
- An Operational hours section with an Add hours button.
Schedule-validation compliance checks currently only cover United States labor laws. If you operate outside the US, email support@schedulelord.com to recommend we add support for your country.
Adding operational hours
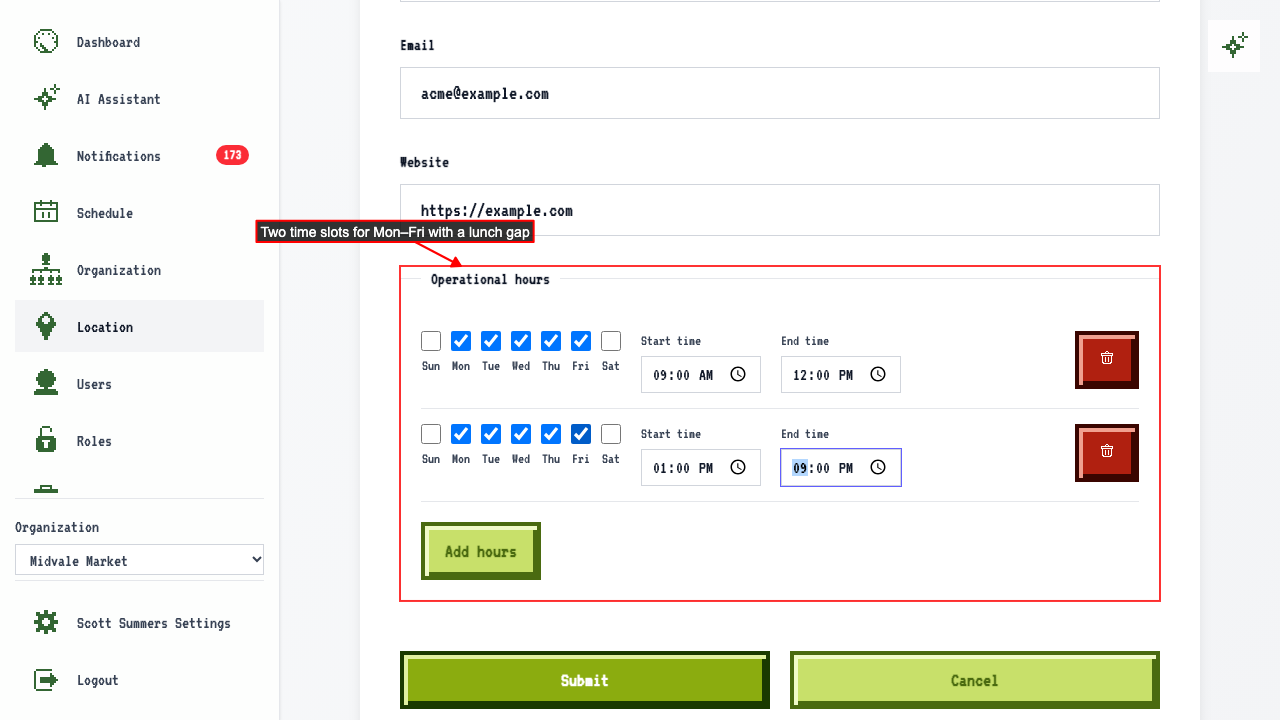
Clicking Add hours adds a row for selecting days and a start and end time.
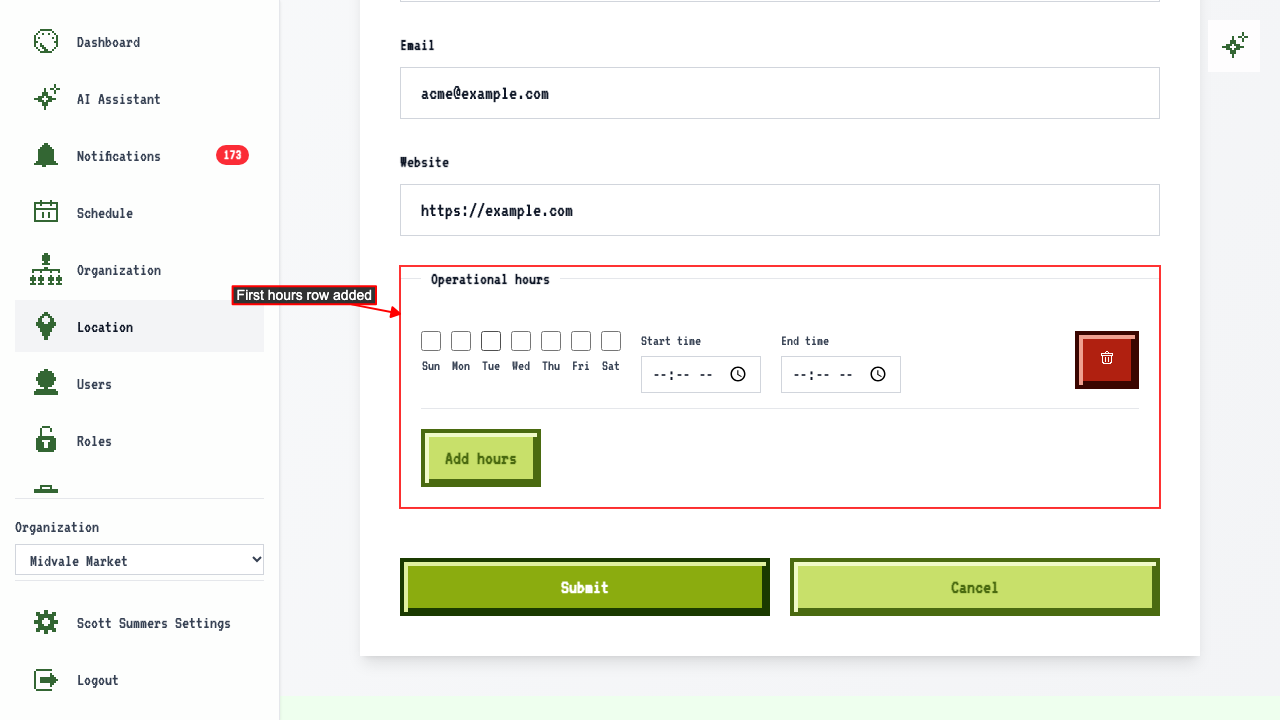 Select days and set start and end time for the first time slot.
Another time slot can be added for the same days to model a pause in service.
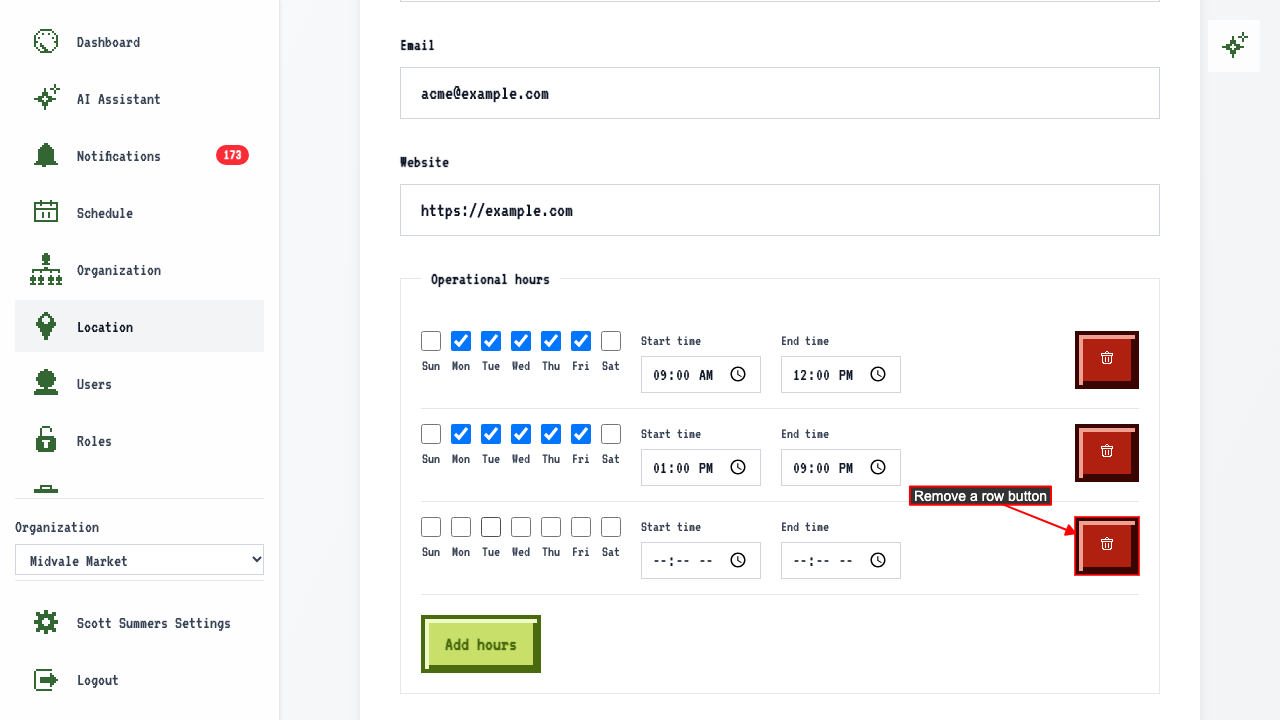
 The Remove button deletes a row, in case you make a mistake adding more time slots.
After entering those fields, submit the new location form.
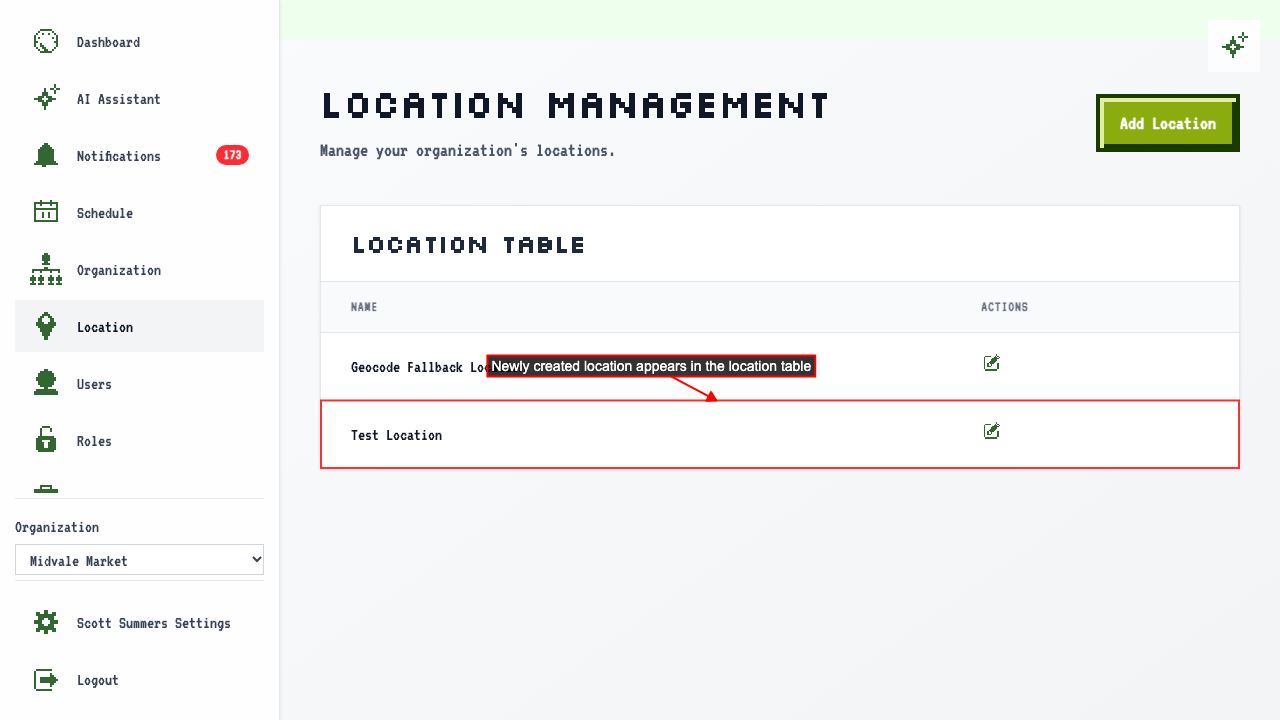
You're taken to the Location page, where your new location has been added.